Add an image to the scene
Let’s add an image to the Level.scene file created by the Basic JavaScript project template.
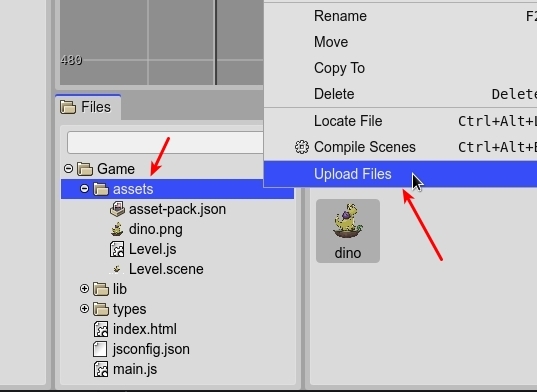
To upload an image to the project. Rich-click on the
assetsfolder and press the Upload Files option of the context menu.
It opens the Upload Files dialog. Click on the Browse button and select the image file in your computer.
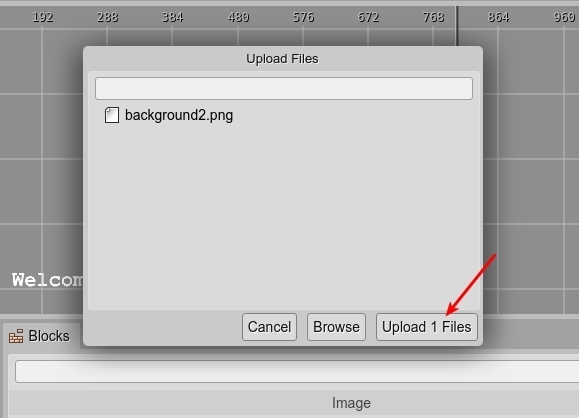
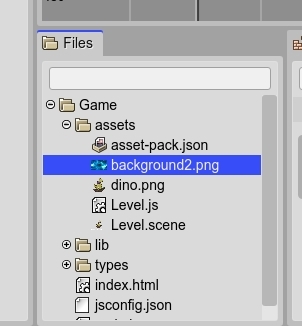
Press the Upload button. The image is uploaded to the
assetsfolder and shown in the Files view.
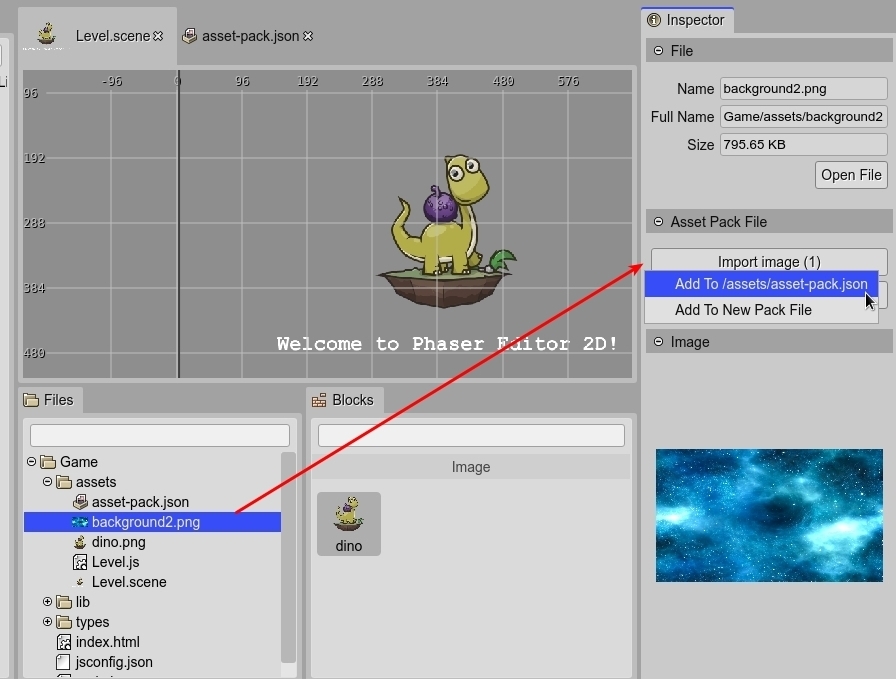
Check the new image is selected in the Files view. Look in the Inspector view, there are the properties of the image file. In the section Asset Pack File, there two buttons to import the image into an Asset Pack file. Click on the Import image button and select Add To /assets/asset-pack.json.
The
assets/asset-pack.jsonis a Phaser file with the configuration of all the files you can load in a game. The Scene Editor uses it to get the images or any other file information.You can add the image files to the Asset Pack file using the previous method or opening the
assets-pack.jsonfile in the Asset Pack Editor.
Click on the Scene Editor that is open, it will refresh the Blocks view and the new image will be shown in the view.
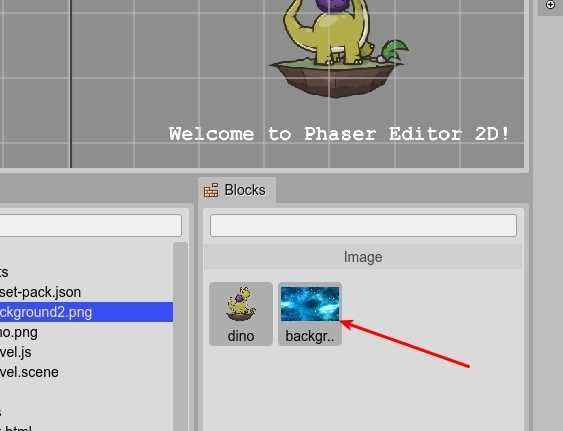
Drag the image from the Blocks view and drop it in the middle of the scene. Press the
Endkey to move the image to the bottom of the scene. Or right click in the image and select the Edit → Move Bottom option.
Save the editor and play the project (
F12).
Note
There are a couple of initial steps you have to follow to add an image to the scene. 1) Upload. 2) Add the image to the Asset Pack file. 3) Drag the image from the Blocks view and drop it into the scene.
This workflow may be simplified in the future, but for us it is important to make that process transparent, with no custom API or file formats, and make it full compatible with any other third-party tool you can use.